Open Accessibility Menu
Hide

DIY vs Professional Lighting

When I finally saved up enough money and purchased my first home, the sense of joy and independence was indescribable. I had climbed that mountain and achieved that dream that seems to get tougher to reach as each generation reaches that age. Filled with enthusiasm and confidence, when any issue with the house came up, I jumped on Youtube and was determined to figure it out and do it myself. Predictably, the results in these endeavors were mixed. I’m now proficient at unclogging drains and winterizing / spring-er-izing my house and yard, while I’ve learned that I want to call a professional for most things related to the masonry or plumbing (though switching out a toilet is a breeze). Not everyone is an eager DIY person - I’ve got plenty of friends who do a cost/benefit analysis and decide that the $200 it costs to call a pro is better than spending the 1-3 hours to figure out a fix on their own. But this post is for those out there that at least give the DIY route consideration whenever there’s a home improvement project on the horizon.

Is outdoor lighting something that you can reasonably do on your own? Will I be happy with the results? Obviously DIY will be cheaper, but if the cheapest possible option was the goal, you would leave your house in darkness. What are the pitfalls or challenges you may run into doing it yourself? I can provide a useful perspective on this question because, before I got involved in professional outdoor lighting, I was very much a DIY lighting homeowner. Now I’ve seen both sides of the coin, and can speak to the pros and cons.
 

backyard with hammock and string lights

pathway lights design

backyard garden with string lights

These are some real photos of the DIY lighting setup at my first house. Not terrible and it helped that the garage and trees ringed my main backyard area.

To begin, let me be clear - neither answer is wrong, and both DIY and professional outdoor lighting are a great improvement over no outdoor lighting at all. “Show them the light!”, as someone wise once said. So Step 1 - DO SOMETHING. Step 2 for most people will be to dabble with DIY to see what they can do. This step can often serve you very well for a few years, but unless you are an A++ DIYer, it will be obvious that its not professionally done. Why? What separates professional outdoor lighting from what can you do yourself? There are a number of vectors that the professionals will outshine you:


1. Lighting design techniques - Though most professionals didn’t get a formal education in this field, they have learned critical techniques thru the experience of designing and installing dozens or hundreds of setups. How to best light a unique tree or sprawling outdoor space. How to leverage techniques such as silouetting, moonlighting, etc to produce the best effects. A good pro has these and more tools in their toolbox.

2. Installation techniques - A large part of a professional outdoor lighting installation is going to great lengths to ensure that the wires running to the fixtures are hidden from view and safe from damage. This includes fishing wire underneath concrete walkways, cutting thru concrete expansion joints, running wires up rain downspouts, and knowing how deep to bury the wire between fixtures. It helps to have the right tools and techniques, and still this is a very labor intensive component of the install. The most obvious difference between DIY and pros will typically be the visible wires running throughout your property. For a cleaner look, call the pros.

poor lighting installation with exposed wires

Call the pros to avoid any tangles of wires around your yard.

3. Quality and selection of fixtures - Many high quality lighting fixtures can be found online, though some premium manufacturers only sell directly to lighting companies. This is true of OLP’s primary supplier. There are many types of fixtures - accent or uplights, pathway lights, downlights, globe lights, bistro lights, etc. Pros will have the industry knowledge to know what fixtures are available and what will work best in certain situations.

4. Technical Limits and Specs - Beyond getting the power to the lights, it is important that you make sure that your transformer and wiring is sufficient for your lighting design. Transformers have a limit on both the wattage of lights you should hook up to it and the max amperage that should be drawn from it. Separately, you may also need to pay attention to the total wattage and amperage running thru any individual wire run. Ignoring this could result in you overloading your transformer, or trying to draw too much power thru one cable which could result in damaging your fixtures or components.

exterior lighting with missing lights due to poor installation

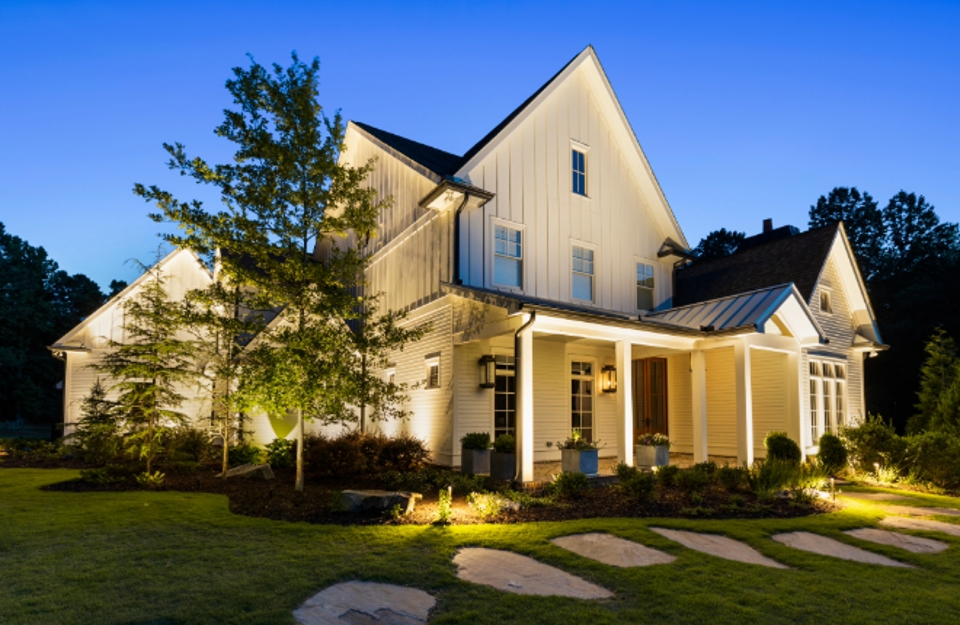
house with exterior lights and garden lighting

After step 2, many people may reconsider their DIY choice and instead find a professional company to take the project over. If you do that, find a company that has a good amount of experience, but will also listen to your ideas and desires and design a solution that fits your property and your style. There is never a “correct” design, and there are usually a few different solutions that can fit into your budget and address your wants and needs. If you live in the greater Salt Lake area, make sure you call Outdoor Lighting Perspectives at (801) 850-0024 as a start, and if you would like to see some of your system IRL before purchasing, ask about our free nighttime demos to give you a feel and help refine some of the details of your design.

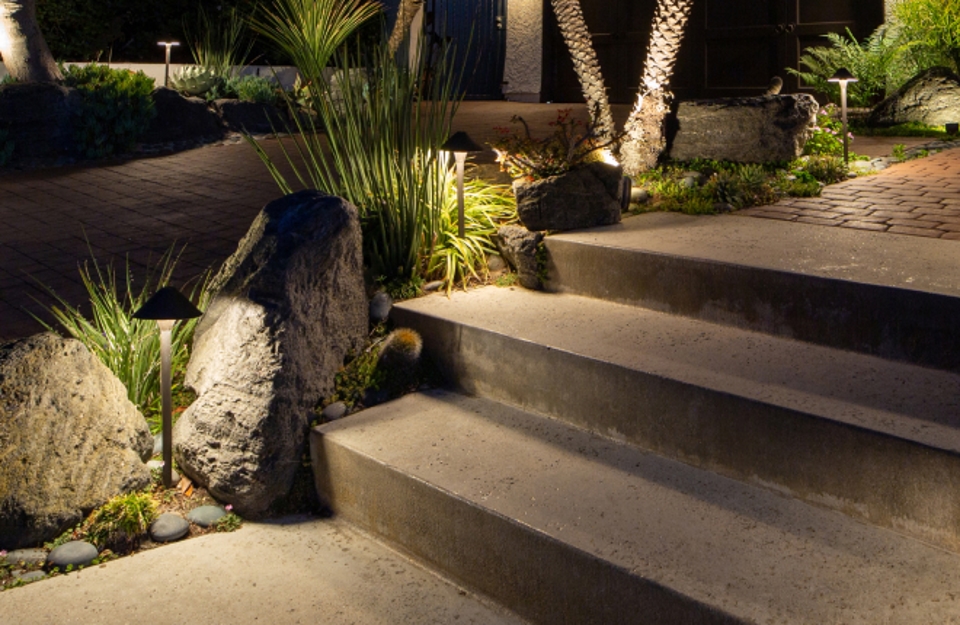
pathway lights on stone path to house

If you’ve done your research and still feel like you are capable and willing to do your own lighting setup, I applaud you and encourage you. Like any DIY project, it can be done without professional help, as long as you know what you’re getting yourself into. If you do want to undertake the endeavor, let me pass on a bit of guidance:

 
  • Do your homework: For a permanent installation, make sure you buy high quality fixtures that will last. Spend the 1-2 hours necessary to calculate the wattage running thru your wires and transformers. With connections buried underground, you don’t want to be replacing fixtures or wire frequently, and more often the homeowner will slowly let their system fall into disrepair instead of fixing each issue, so set yourself up for success.

  • Bury that wire deep! The accepted standard is to bury wire at least 6in deep. This is especially important in any areas that may get landscaping work in the future, and at the transitions from grass to mulch beds or grass to a pathway as those spots will most frequently get edging which is a common way to cut wire not buried deep enough.

  • Think about engaging a professional as a consult: This may not be offered by all lighting companies, but many would agree to look at your designs and talk thru some of the possible pitfalls at a healthy hourly rate. You could be saving a lot in the overall project by doing it yourself, and spending $100-200 for an hour of a pros time could save you hours of headaches and lots of $ down the road. They can tell you if your plan would overload your system or deliver proper voltage to all of your lights. At OLP, we are always happy to help, so give us a call!

  • Ask friends for help! The installation of fixtures and wire can be physically taxing, so be prepared and call over your friends willing to break a sweat for you.


Whatever way you go about it, I truly hope the best for your lighting plans. The difference that good lighting can make to any home, large or small, is enormous. Once you get LIT, you’ll never go back!